横浜国立大学理工学部建築都市環境系学科卒
一級鉄筋技能士
唎酒師
狂人のごとく特定の分野、中小企業を理解し、国の補助金を獲得します。最近は中小企業のM&Aにも挑戦中
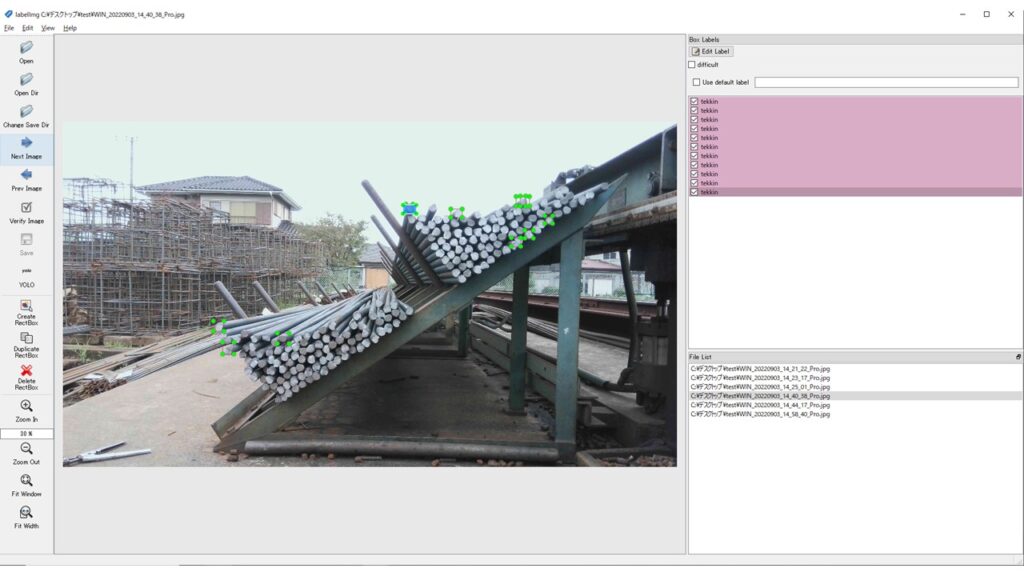
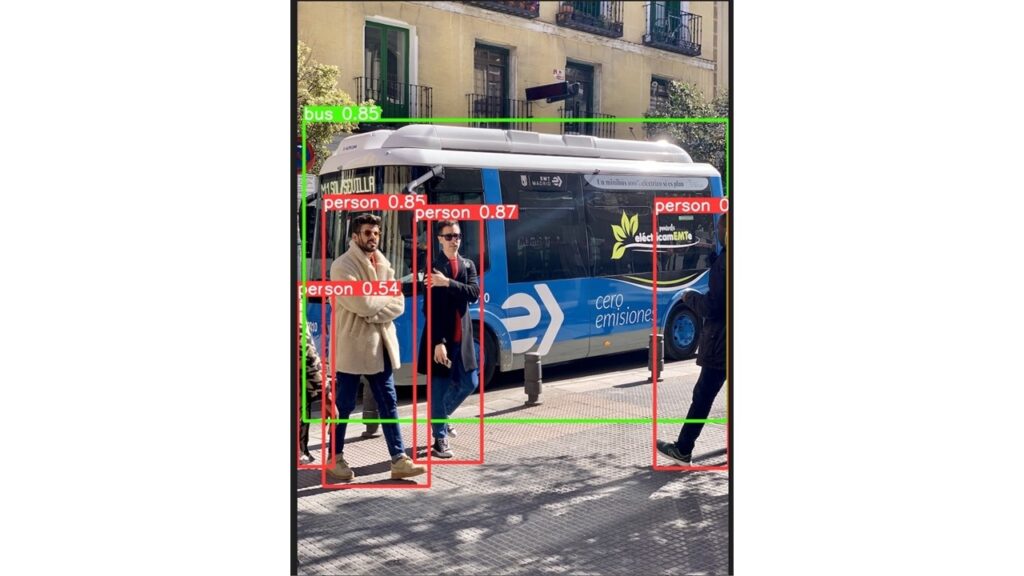
物体検知AIの精度を向上させるにはアノテーションデータ量を増やす必要があります。
必要なアノテーションデータは場合によっては数千枚必要な場合も珍しくありません。
簡易アノテーションとはある程度精度が出るようになった段階で、学習したAIを基にアノテーションデータを自動的に作成するツールです。
この記事では簡易アノテーションの作成方法について詳しく解説していきます。
「AI開発のナビゲーター物体検知AI編」はこちらからどうぞ!
目次
画像認識AIの導入手順
AI構想段階→AI設計段階→AI検証段階→AI運用段階
経産省HPの「中小企業がAIを導入する際に必要となる体制整備や準備・実証手法等について」によれば、AIの開発手順は大きく4つの段階に分かれています。
中小企業がAIを導入する際に必要となる体制整備や準備・実証手法等について
|
1 2 3 4 5 6 7 8 9 10 11 12 13 14 15 16 17 18 19 20 21 22 23 |
1.AI構想段階 ・AIとは何か?導入のメリットの理解 ・取組領域の決定(予知保全、需要予測、経理関連最適化、データに基づく販促、不良個所自動検出) ・自社の現状把握 ・AIによる解決方法の事例調査 ・費用対効果の確認 2.AI設計段階 ・AI導入の目的・目標の設定 ・データの確認 ・実務での活用イメージ検討 ・初期費用の検討 3.AI検証段階 ★・モデル構築、精度の向上 ・自社業務への適用可否検討 ・本番実装計画の策定(投資回収計画) 4.AI運用段階 ・実務用の機器の導入準備(試作品ではなく実際の機器の準備) ・資金調達 ・他分野への活用方法 ・自社人材のレベルアップ研修 |
AIの精度が課題になってくるのは3.AI検証段階の段階であり、ここに非常にコストが大きくかかります。
精度を上げるには1500枚以上必要!必ず時短ツールが必要になってくる
物体検知AIの精度を上げることは簡単ではありません。
ガイドラインによると、推奨されている枚数はクラスごとに1500枚以上と言われています。
Best practice when YOLOv5 training performance is only mediocre
1500枚以上の画像データを自力でアノテーションするとなるとどれくらいの時間がかかるのか、考えたくもないですね。
【事前準備】自分で作成したデータを学習させる
簡易アノテーションを実装するにはまずは自分で用意したデータを学習させる必要があります。
学習の手順を確認しておきましょう。
アノテーションして学習データを作る
今回は100枚の画像データを用意しました。
Google Driveに接続
|
1 2 |
from google.colab import drive drive.mount('/content/drive') |
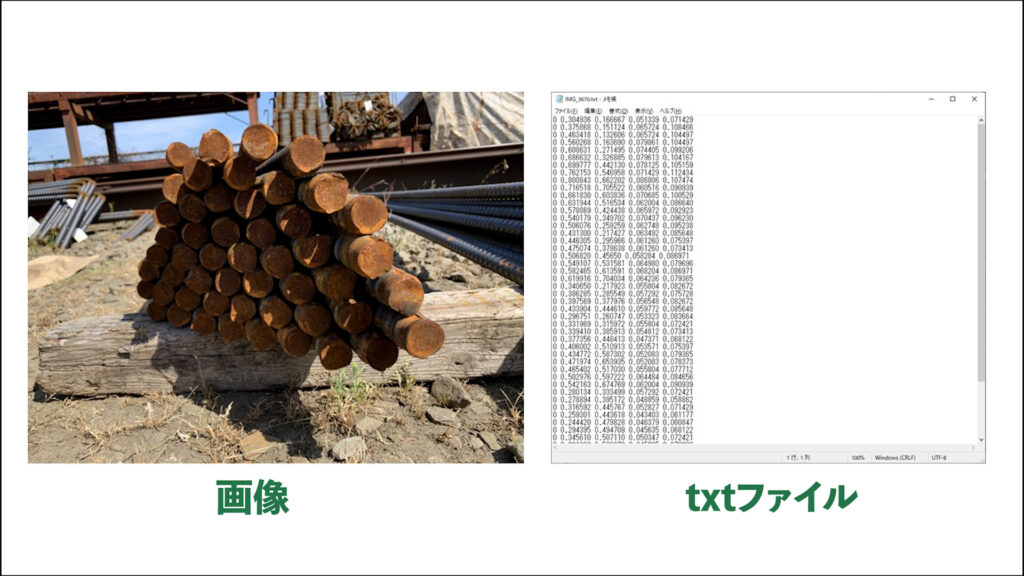
アノテーションした画像ファイルとtxtファイルの準備
アノテーションした画像ファイルとtxtファイルを準備します。
|
1 2 3 4 5 6 7 8 9 10 11 12 13 14 |
import glob import shutil from sklearn.model_selection import train_test_split import os data_path = "/content/drive/MyDrive/ObjectDetectionCourseNotebook/tekkin/" x_list = glob.glob(data_path + "*.jpg") + glob.glob(data_path + "*.JPG") y_list = glob.glob(data_path + "*.txt") x_train, x_test, y_train, y_test = train_test_split(x_list, y_list) print("学習数", len(x_train)) print("テスト数", len(x_test)) 学習数 75 テスト数 25 |
trainデータとvalデータの準備
|
1 2 3 4 5 6 7 8 9 10 11 12 13 14 15 16 17 18 19 20 21 22 |
from tqdm import tqdm import shutil if os.path.exists("/content/train"): shutil.rmtree("/content/train") if os.path.exists("/content/val"): shutil.rmtree("/content/val") if not os.path.exists("/content/train"): os.mkdir("/content/train") if not os.path.exists("/content/val"): os.mkdir("/content/val") for f in tqdm(x_train): file_name = os.path.basename(f) shutil.copyfile(f, f"/content/train/{file_name}") for f in tqdm(y_train): file_name = os.path.basename(f) shutil.copyfile(f, f"/content/train/{file_name}") for f in tqdm(x_test): file_name = os.path.basename(f) shutil.copyfile(f, f"/content/val/{file_name}") for f in tqdm(y_test): file_name = os.path.basename(f) shutil.copyfile(f, f"/content/val/{file_name}") |
trainデータとvalデータの場所とクラスの数およびその内容をyamlファイルに保存します。
|
1 2 3 4 5 6 7 8 9 10 11 12 13 |
yaml = """ # here you need to specify the files train, test and validation txt train: /content/train val: /content/val # number of classes in your dataset nc: 1 # class names names: ['tekkin'] """ with open("data.yaml", "w") as f: f.write(yaml) |
YOLOv5の用意
|
1 2 3 4 |
!git clone https://github.com/ultralytics/yolov5.git %cd yolov5 %pip install -qr requirements.txt # install |
学習させる
|
1 2 3 4 5 6 7 8 9 10 11 12 13 |
project_dir = "/content/drive/MyDrive/ObjectDetectionCourseNotebook/exps/" image_size = 1280 batch_size = 8 epoch_num = 30 model_type = 'yolov5m' #@param ["yolov5s", "yolov5m", "yolov5l"] # weights_dir = '' # 1から学習する場合 # weights_dir = project_dir + "exp/weights/best.pt" # 自己学習した重みを使う場合 weights_dir = f'{model_type}.pt' # 80種類の分類で学習ずみの重みを使う場合 hyp_file = 'hyp.scratch-low.yaml' #@param ["hyp.VOC.yaml", "hyp.scratch-high.yaml", "hyp.scratch-med.yaml", "hyp.scratch-low.yaml"] hyp_file = f'./data/hyps/{hyp_file}' arguments = f"--img {image_size} --batch {batch_size} --epochs {epoch_num} \ --data ../data.yaml --cfg ./models/{model_type}.yaml --weights '{weights_dir}' \ --device 0 --project {project_dir} --hyp {hyp_file}" |
|
1 2 3 4 5 6 7 8 9 10 11 12 13 14 15 16 17 18 19 20 21 22 23 24 25 26 27 28 |
!python train.py {arguments} 途中省略 Epoch GPU_mem box_loss obj_loss cls_loss Instances Size 27/29 12.8G 0.07745 0.1872 0 153 1280: 100% 10/10 [00:36<00:00, 3.65s/it] Class Images Instances P R mAP50 mAP50-95: 100% 2/2 [00:01<00:00, 1.68it/s] all 25 1912 0.701 0.787 0.724 0.357 Epoch GPU_mem box_loss obj_loss cls_loss Instances Size 28/29 12.8G 0.07917 0.2011 0 526 1280: 100% 10/10 [00:36<00:00, 3.63s/it] Class Images Instances P R mAP50 mAP50-95: 100% 2/2 [00:01<00:00, 1.60it/s] all 25 1912 0.705 0.792 0.718 0.353 Epoch GPU_mem box_loss obj_loss cls_loss Instances Size 29/29 12.8G 0.07858 0.2073 0 413 1280: 100% 10/10 [00:35<00:00, 3.57s/it] Class Images Instances P R mAP50 mAP50-95: 100% 2/2 [00:00<00:00, 2.35it/s] all 25 1912 0.717 0.791 0.723 0.363 30 epochs completed in 0.344 hours. Optimizer stripped from /content/drive/MyDrive/ObjectDetectionCourseNotebook/exps/exp2/weights/last.pt, 42.5MB Optimizer stripped from /content/drive/MyDrive/ObjectDetectionCourseNotebook/exps/exp2/weights/best.pt, 42.5MB Validating /content/drive/MyDrive/ObjectDetectionCourseNotebook/exps/exp2/weights/best.pt... Fusing layers... YOLOv5m summary: 212 layers, 20852934 parameters, 0 gradients, 47.9 GFLOPs Class Images Instances P R mAP50 mAP50-95: 100% 2/2 [00:05<00:00, 2.58s/it] all 25 1912 0.715 0.791 0.723 0.362 |
これで学習ができました。
mAPはなんとなくですが、頭打ちになっていて良さそうに思えます。
簡易アノテーションの作成方法
簡易アノテーションでは上記の学習したモデルを基にある一定の確信度以上のものをアノテーションに利用します。
実際の作り方を見ていきましょう。
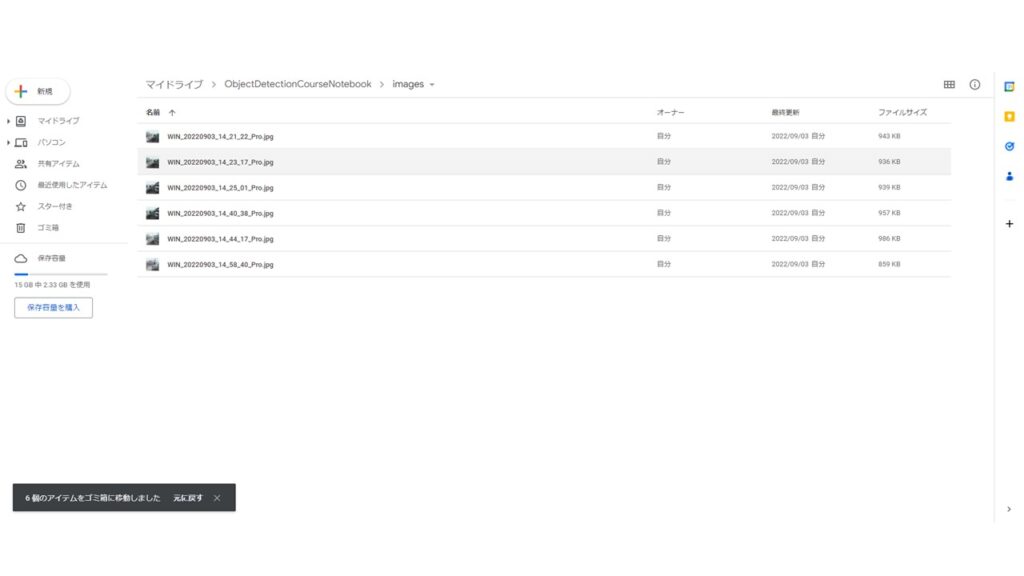
追加する写真を読み込む
今回は6枚だけ画像を用意します。
|
1 2 3 4 |
import glob images_dir = "/content/drive/MyDrive/ObjectDetectionCourseNotebook/images/" files = glob.glob(f"{images_dir}*jpg") print(files) |
確信度が一定以上のものをアノテーションに再利用する
読み込んだ画像に対して確信度が一定以上出ている物体をアノテーションするようにします。
今回は確信度を0.5以上としました。
|
1 2 3 4 5 6 7 8 9 10 11 12 13 14 15 16 17 18 19 20 21 22 23 24 25 26 27 28 29 |
import numpy as np import cv2 from tqdm import tqdm confidence = 0.5 model.conf = 0.4 for file in tqdm(files): output = [] img = cv2.imread(file) results = model(file) xyxy = results.xyxy[0].to('cpu').detach().numpy().copy() text_file_name = file.split(".")[0] + ".txt" for d in xyxy: if d[4] > confidence: output.append([ int(d[5]), # classの番号 f"{(d[2]+d[0])/2/img.shape[1]:.6f}", # 中心のXの比率 f"{(d[3]+d[1])/2/img.shape[0]:.6f}", # 中心のYの比率 f"{(d[2]-d[0])/img.shape[1]:.6f}", # 幅の比率 f"{(d[3]-d[1])/img.shape[0]:.6f}", # 縦の比率 ]) text_datas = [" ".join(map(str, text_line)) for text_line in output] with open(text_file_name, mode="w") as f: f.write("\n".join(text_datas)) |
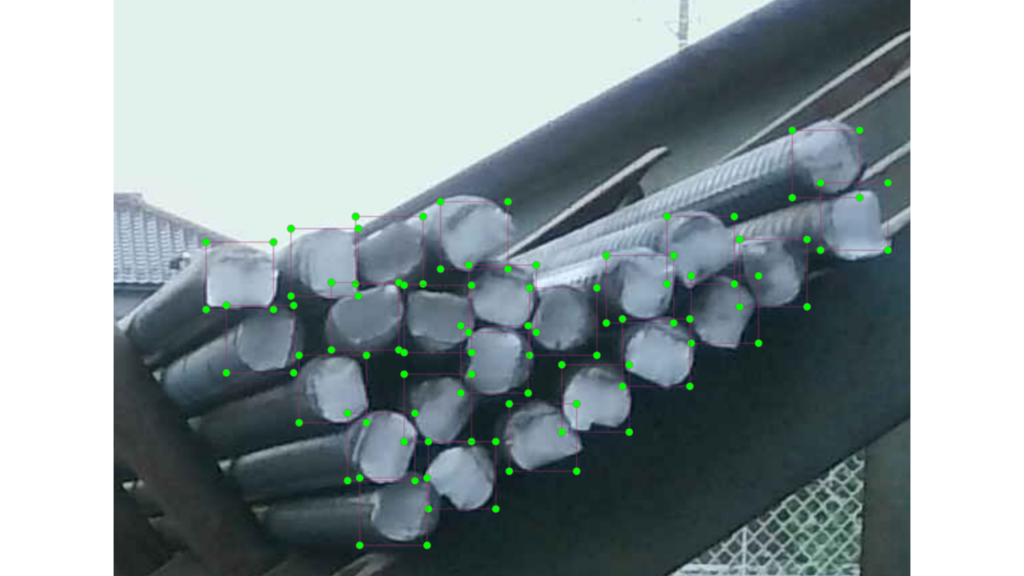
数は少ないですが、きちんとアノテーションできていることが確認できました。
まとめ
AI検証段階ではAIの精度が大きな課題になります。
物体検知AIの場合は精度を向上させるためには1500枚以上の画像データをアノテーションする必要があり、これは中小企業には非常に大変なコストのかかる作業です。
簡易アノテーションツールを実装することができれば、コストを削減することができるので参考にしてください。

